Last week, I posted some pictures of bedrooms for my children that I recently pulled together with a very small (non-existent) decor budget.
I bought cheap Target/Michael's frames for several prints I already owned - but some of the pieces weren't standard sizes.
Three were prints of room renderings...
...and three were pages from a children's book that fell apart.
Here is how I was able to frame all all of them without expensive custom work...
First, the book pages. We had a used book,
Willy The Wimp, with great illustrations that my children loved. Sadly - they loved it so much that the binding failed and all of the pages fell out. I hated the idea of throwing it away, so I saved my three favorites assuming that I'd find a use for them someday.
And TODAY, that would be wall decor for Oliver and George's room.
The images were square sizes, so I looked for frames with those dimensions. Since none were a perfect fit, I thought I'd buy ones with mats and mount the pages on top of them instead of behind.
All I needed was a blade, a straight edge (like a ruler) and a piece of cardboard to protect my table.
The first page included a border, so I thought I'd just use that for my cut line.
But - AARRGGHH! - as soon as I finished, I realized that it was now too small to mount over the mat!
Seriously - dumb mistake. But before I tossed it, I tried cutting the middle border off of the mat (which was supposed to hold four pictures) and putting an extra unneeded page behind the mat to fill in that gap.
Not perfect - but for a kid's room? It's fine.
In the future - one improvement I would make on this would be to use another piece of paper to cover the cut of the mat. It would create an additional border for the image and there wouldn't be any gap - noticeable or not.
The other two images filled the page, so I just needed to trim the ragged edges. One had a small tear...
...but again - for a kid's room, it's barely noticeable. My six and four year olds certainly aren't complaining...
I think they look pretty great!
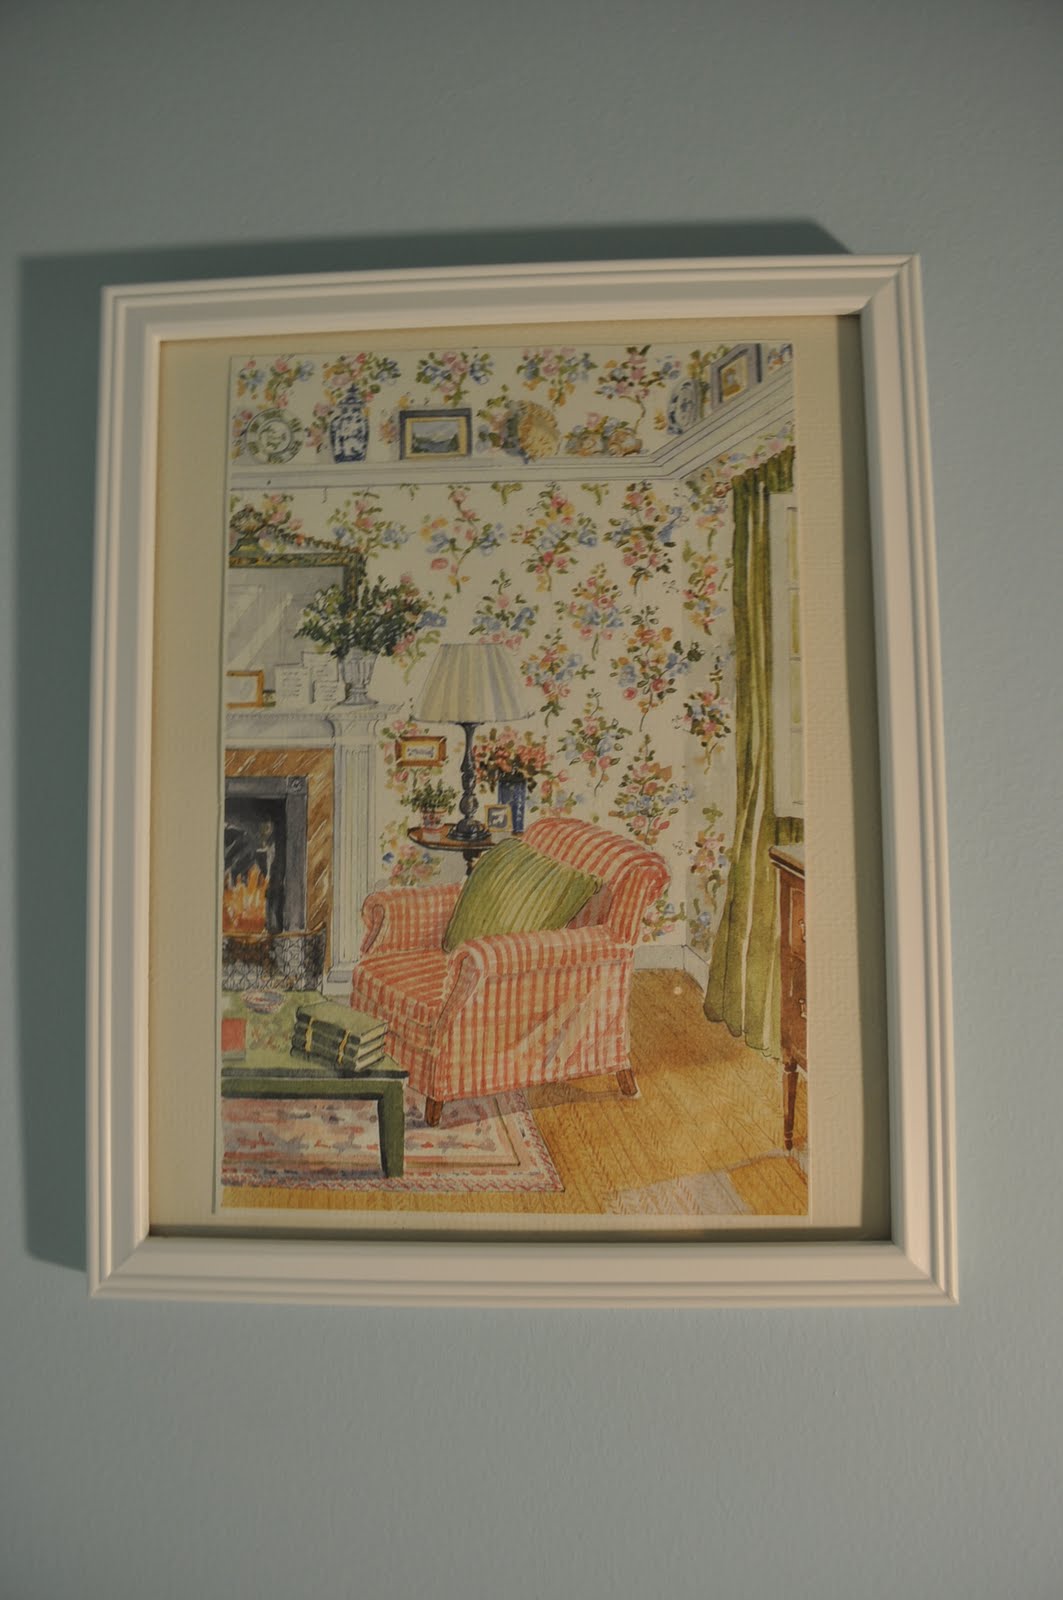
Next - the prints of watercolor room renderings.
My mother gave these to me years ago, thinking that they'd look cute in frames - possibly in a bedroom. I never got around to it for my own room, but they're perfect for Eleanor.
I knew I'd have very small wall space to work with and frames with mats would be too big. So I found some that would almost fit allowing for just a little space around the images.
Since they didn't come with mats, I picked up some art paper (sold by the sheet) that I thought would provide a neutral background. A pattern or color would also have looked nice - but in this case, the border wouldn't be uniform and the effect would be odd.
The rest is obvious. I trimmed the images (which were mounted on sheets with printed borders) and then cut the art paper to fit into the frames.
Ta da! Took just a few minutes, not a lot of money...and for a little girls room? They look adorable.
Sometimes I think I avoid doing projects around my house because I know that it will look amateur. Well - maybe so - but amateur is better than nothing when you have limited means!
I'm going to go for it a little more often - things can always be re-done by professionals later.